Configurations
Main UI
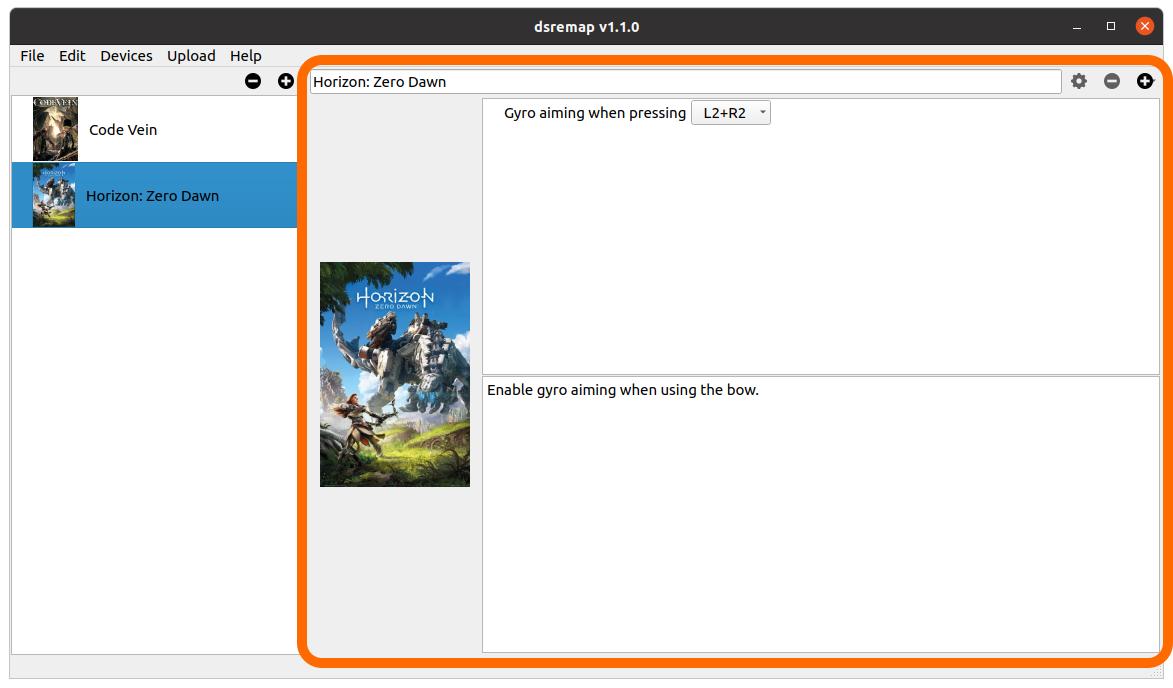
The main window is split horizontally in two main areas.
The left area is a list of available configurations. The two buttons above can be used to delete the selected configuration, or add a new one.

Note
Almost everything you do in the UI can be undone using Edit -> Undo or Ctrl-Z (Cmd-Z on mac OS).
And the right area holds the details of the currently selected configuration. You can change its name, change the thumbnail by dropping an image on the current one, add or remove so-called “actions”, which are rules for altering the Dual Shock inputs, and set a description for the configuration.
Uploading configurations
Once you’re done creating your configurations, they must be uploaded to the device. Select the configuration you want to upload (you can select several if you’re using the Arduino setup, only one with the RPi). Then select your device in the Upload menu.
Note
If the menu says “No device detected”, try to unplug the Arduino and plug it again, or rebooting the RPi.
After the configuration(s) have been uploaded they’re immediately active.
Configuration choice on the Arduino
This only applies to Arduino-based setups.
Only one configuration may be active at a time once the system is plugged to the PS4. If you uploaded several ones, you’ll have to choose which one will be active after plugging the Dual Shock and before pressing PS. The Arduino builtin LED will blink to indicate the currently selected configuration.
Configuration #1 selected:
Use up and down on the DPad to change it, then press PS to confirm.
Configuration #2 selected: